
How to Make Low-FODMAP Bread at Home
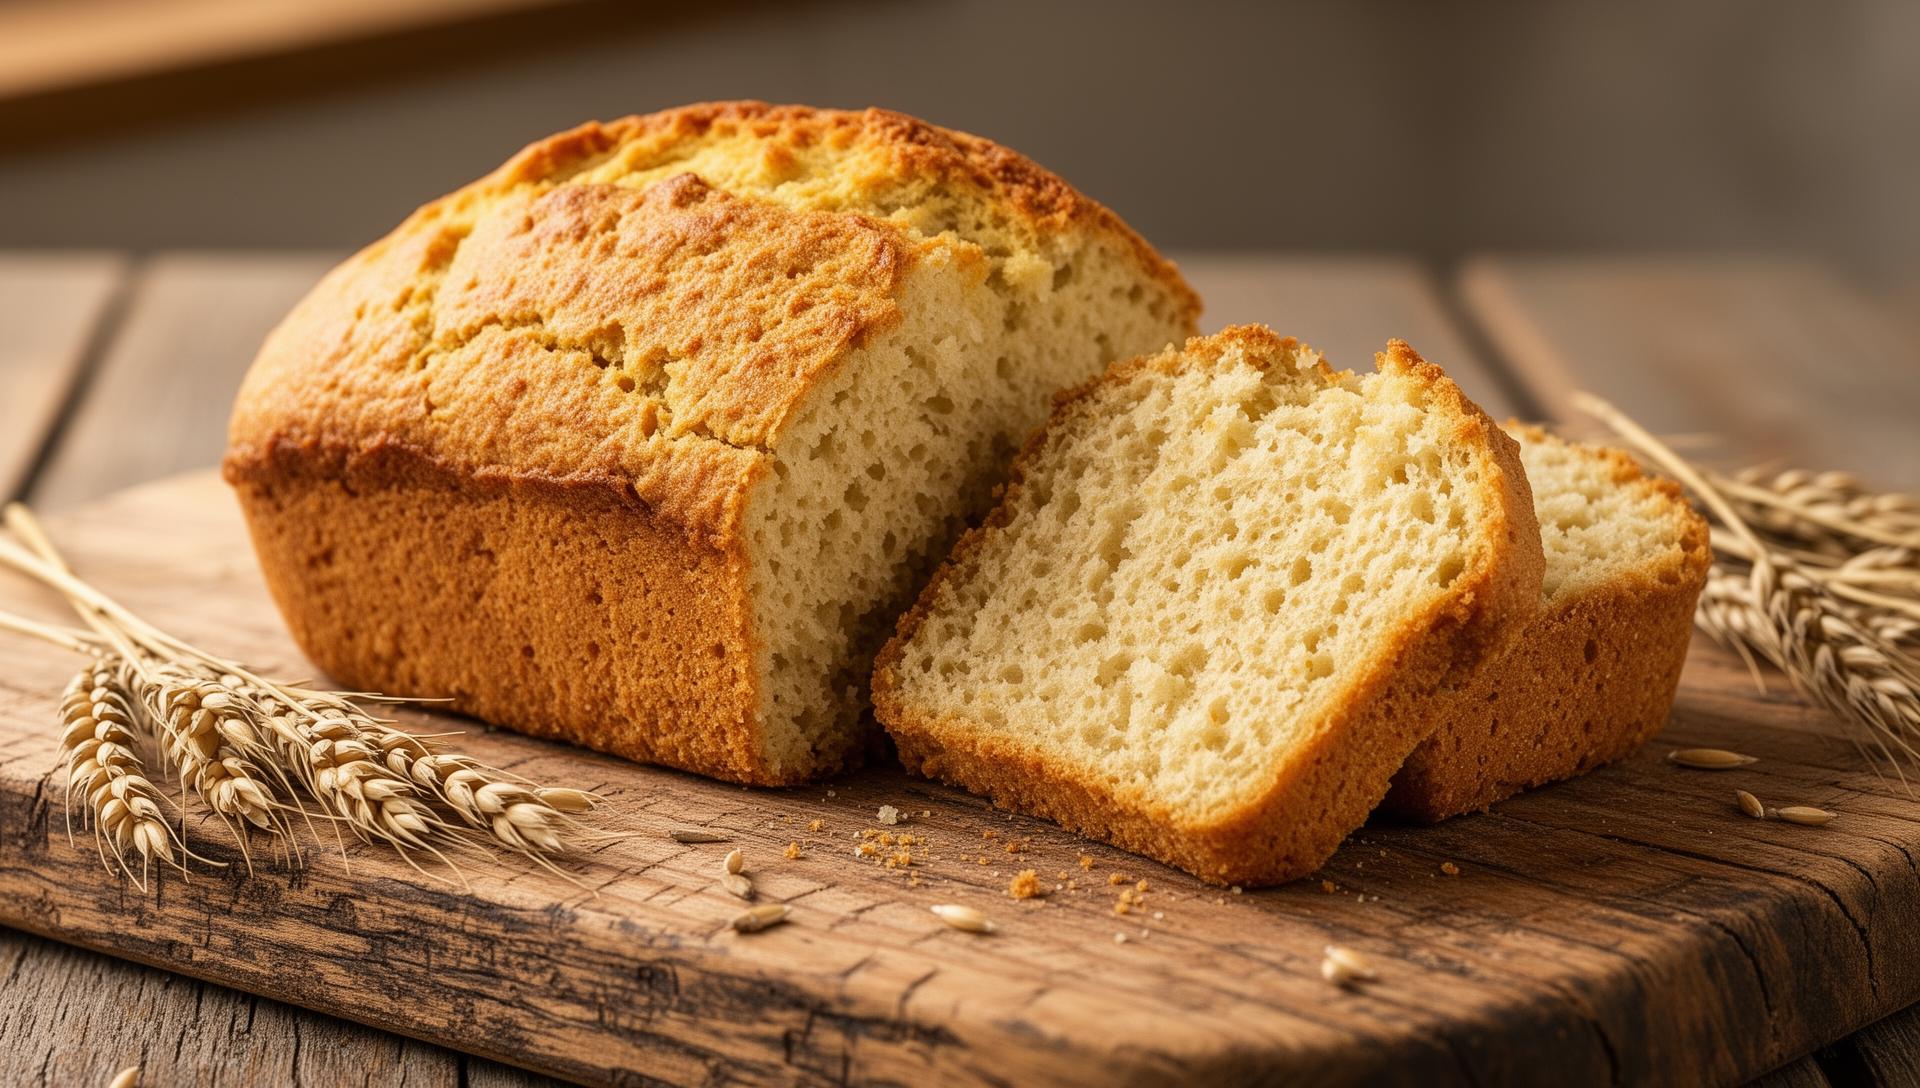
Finding safe bread on a low-FODMAP diet can be frustrating. Most store-bought options contain wheat, honey, high-fructose corn syrup, or other high-FODMAP ingredients that can trigger IBS symptoms. This homemade low-FODMAP bread solves that problem — it is soft, fluffy, and completely safe for the elimination phase.

Whether you need bread for low-FODMAP breakfast ideas or a base for your favorite sandwich, this recipe delivers bakery-quality results every time.
Preparation: Setting Up for Success
Step 1: Prepare Your Workspace and Ingredients
Before beginning, ensure all your ingredients are at room temperature, especially the eggs and milk. Cold ingredients can prevent proper yeast activation and result in dense bread. Warm your lactose-free milk to approximately 110°F (43°C) — it should feel warm but not hot to the touch.
Pro Tip: If the milk is too hot, it will kill the yeast. Too cold and the yeast won't activate properly. Use a kitchen thermometer for best results.
Step 2: Activate the Yeast
In a small bowl, combine the warmed lactose-free milk with 1 tablespoon of sugar. Sprinkle the instant yeast over the top and let it sit for 5-10 minutes. You'll know the yeast is active when you see a foamy layer forming on top.
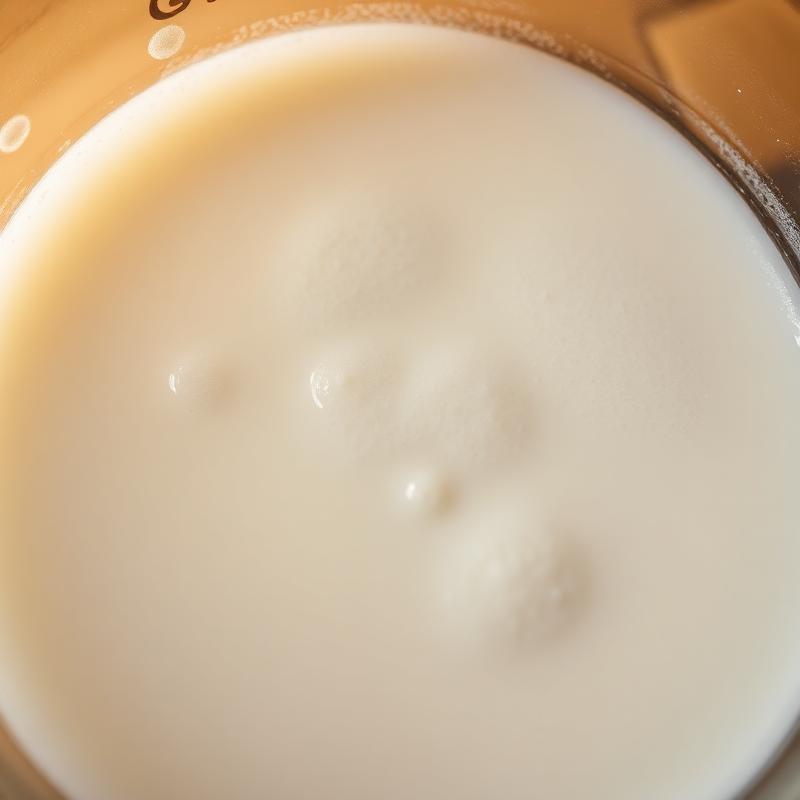
This step is crucial — if your yeast doesn't foam, it may be expired and you should start with fresh yeast. The sugar feeds the yeast and kickstarts fermentation.
Step 3: Combine Dry Ingredients
In a large mixing bowl, whisk together:
- Gluten-free flour blend
- Remaining 1 tablespoon sugar
- Salt
- Psyllium husk powder (optional but recommended)
The psyllium husk adds structure and elasticity that gluten-free breads often lack. Make sure your flour blend already contains xanthan gum — if it doesn't, add 1½ teaspoons of xanthan gum. This binding agent is essential for preventing crumbly bread.
Mixing the Dough
Step 4: Combine Wet Ingredients
In a separate bowl, lightly beat the eggs, then add the garlic-infused olive oil and apple cider vinegar. The vinegar creates a slightly acidic environment that improves bread texture and helps the yeast work more effectively.
Why garlic-infused oil? Fructans (the FODMAPs in garlic) are water-soluble, not fat-soluble. This means garlic-infused oil adds wonderful flavor without the FODMAPs. Learn more about safe seasonings in our ingredient swap tool.
Step 5: Create the Dough
Make a well in the center of your dry ingredients. Pour in the activated yeast mixture followed by the wet ingredients. Using a stand mixer with a paddle attachment (or a sturdy wooden spoon):
- Mix on low speed until just combined
- Increase to medium speed
- Beat for 3-4 minutes
The dough will be much stickier than traditional wheat bread dough — this is completely normal for gluten-free bread. Do not add extra flour to make it less sticky, as this will result in dry, dense bread.
First Rise
Step 6: Prepare for Rising
Generously grease a 9x5 inch loaf pan with lactose-free butter or cooking spray. Transfer your dough into the prepared pan using a wet spatula or wet hands to spread evenly. Smooth the top as best you can. Cover loosely with plastic wrap or a damp kitchen towel.
Step 7: Let the Dough Rise
Place the covered pan in a warm, draft-free location (75-80°F / 24-27°C). If your kitchen is cool, place the pan in your oven with just the light on (not the heat).
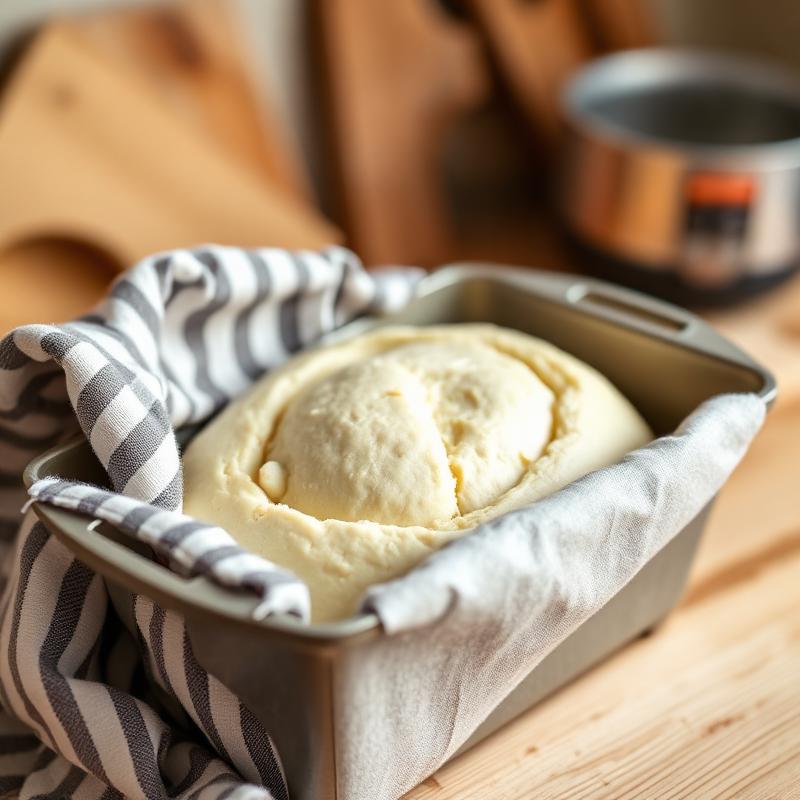
Let the dough rise for 45 minutes to 1 hour, or until it has risen to about 1 inch above the rim of the pan.
Baking Your Low-FODMAP Bread
Step 8: Preheat and Prepare
About 15 minutes before your dough finishes rising, preheat your oven to 375°F (190°C). Position an oven rack in the center. Use an oven thermometer to verify the temperature — accurate heat is crucial for proper bread baking.
Step 9: Bake the Bread
Place the risen loaf in the preheated oven and bake for 40-45 minutes. The bread is done when:
- The top is golden brown
- It sounds hollow when tapped
- Internal temperature reaches 200°F (93°C)
If the top browns too quickly, loosely tent with aluminum foil for the last 10-15 minutes.
Step 10: Cool Properly
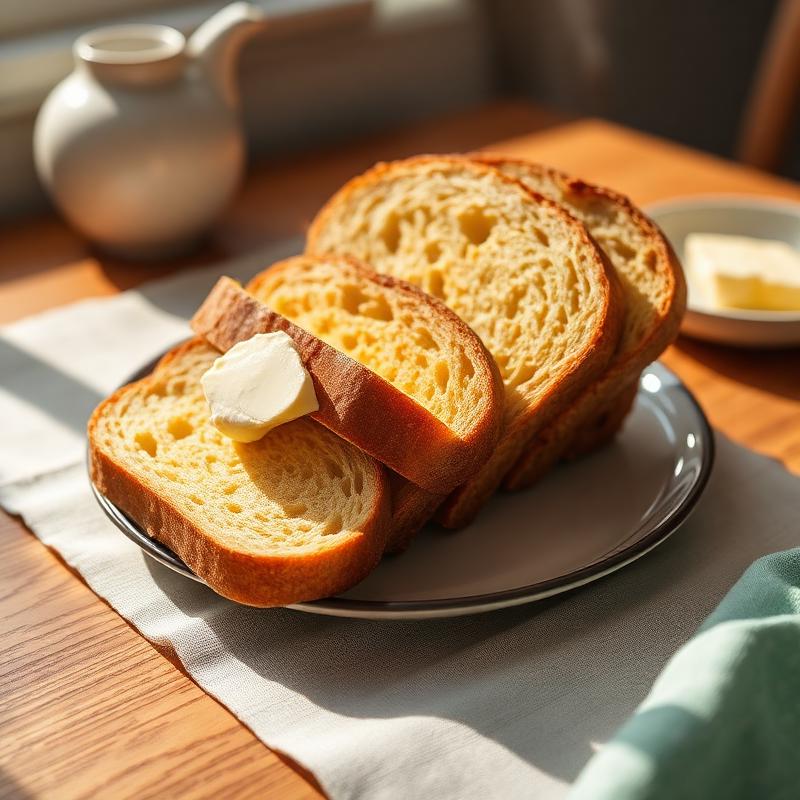
Remove the bread from the oven and let it cool in the pan for 10 minutes. Then carefully transfer to a wire rack to cool completely — at least 30 minutes before slicing. Cutting too early releases steam and can make the interior gummy.
Storage and Meal Prep Tips
How to Store Low-FODMAP Bread
- Room temperature: Up to 3 days in an airtight container or bread bag
- Refrigerator: Up to 7 days (may become slightly drier)
- Freezer: Up to 3 months — slice before freezing for easy grab-and-go portions
Reheating Tips
Toast frozen slices directly from the freezer. For a softer texture, wrap in a damp paper towel and microwave for 20-30 seconds.
Low-FODMAP Bread Variations
Once you've mastered this basic recipe, try these variations:
- Herb Bread: Add 2 tablespoons of dried Italian herbs (oregano, basil, thyme — all low-FODMAP)
- Seeded Bread: Mix in 2 tablespoons each of pumpkin seeds and sunflower seeds
- Cinnamon Raisin: Add 1 tablespoon cinnamon and ¼ cup raisins (limit to 1 tablespoon per serving during elimination)
Looking for more low-FODMAP dinner recipes to pair with your homemade bread? Check out our collection of IBS-friendly meals.
Why This Low-FODMAP Bread Recipe Works
According to Monash University, the leading authority on the FODMAP diet, wheat-based bread is one of the highest FODMAP foods. This recipe replaces all high-FODMAP ingredients with certified safe alternatives:
| High-FODMAP Ingredient | Low-FODMAP Substitute | Why It's Safe |
|---|---|---|
| Wheat flour | Gluten-free flour blend | Eliminates fructans |
| Regular milk | Lactose-free milk | Removes lactose |
| Garlic cloves | Garlic-infused oil | Fructans are water-soluble |
| Honey | White sugar | Safe in normal portions |
For more ingredient substitutions, use our FODMAP food checker tool to verify any ingredients you're unsure about.
Frequently Asked Questions
Can I use a bread machine for this recipe?
Yes! Use the gluten-free setting on your bread machine. Add wet ingredients first, then dry ingredients, with yeast on top.
Is sourdough bread low-FODMAP?
Traditional sourdough made with wheat flour may be lower in FODMAPs due to the long fermentation process, but it is not certified low-FODMAP. This homemade recipe is the safest option during the elimination phase.
Can I substitute the eggs in this recipe?
Yes! Use flax eggs (1 tablespoon ground flaxseed + 3 tablespoons water per egg). Let it gel for 5 minutes before using. Check our substitution finder for more options.
How many slices are safe per serving?
According to Monash University guidelines, 1-2 slices of this low-FODMAP bread per serving is safe during the elimination phase.
This recipe was developed following Monash University FODMAP guidelines. Always consult with a registered dietitian before starting the low-FODMAP diet. For more gut-friendly recipes, explore our complete recipe collection.