
Low FODMAP

    Low FODMAP Peanut Butter Energy Balls — No-Bake IBS-Friendly Snack

    S
    Sarah Mitchell, RDN
    June 22, 2026

    Total Time

    15 min

    Servings

    7

    Prep

    15 min

    0
    Share:
    Low FODMAP Peanut Butter Energy Balls — No-Bake IBS-Friendly Snack — low FODMAP snack ready to serve
    Sarah Mitchell, RDN
    Written & reviewed by Sarah Mitchell, RDN• Monash FODMAP Trained Dietitian
    Published June 22, 2026Updated July 21, 2026

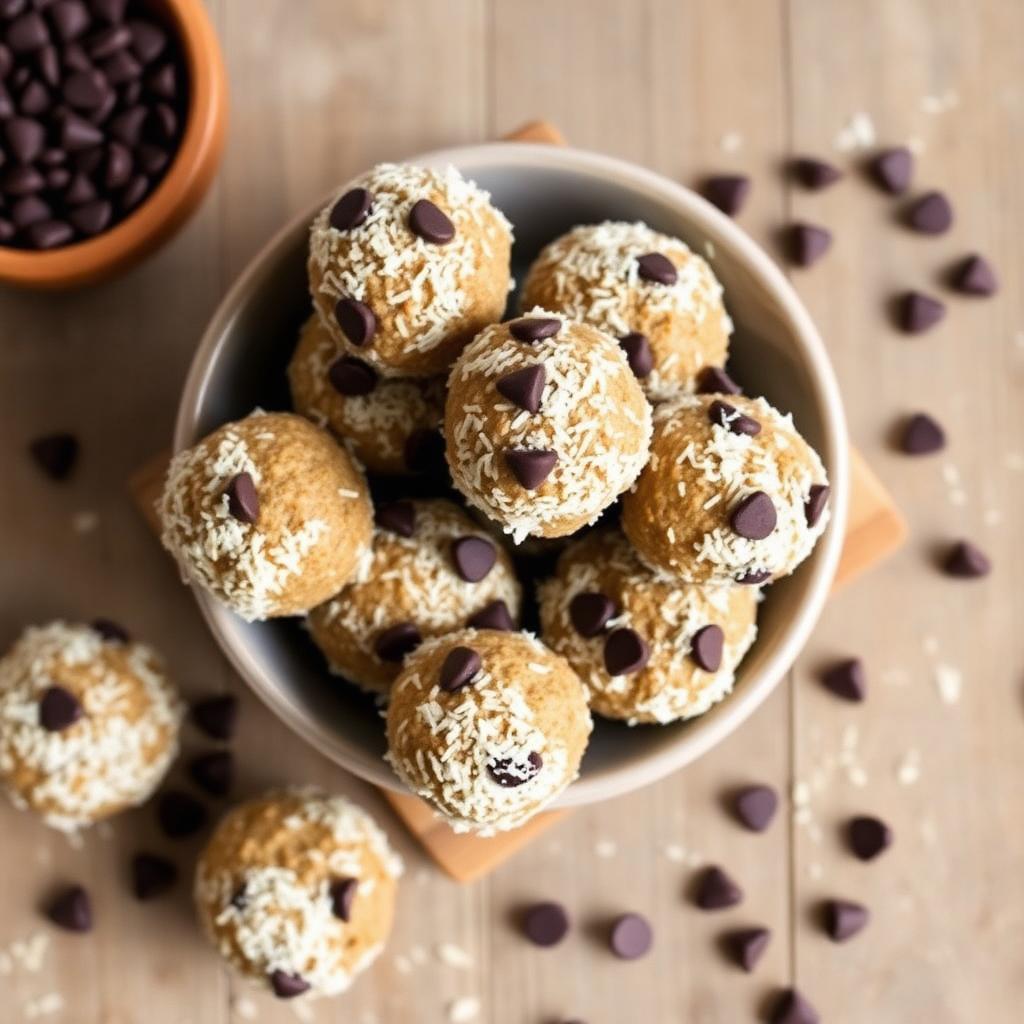
    These Low FODMAP Peanut Butter Energy Balls are the perfect no-bake snack for anyone managing IBS or following the low FODMAP diet. Made with rolled oats, natural peanut butter, pure maple syrup, dark chocolate chips, and unsweetened shredded coconut, they come together in just 15 minutes and need no oven time. Each bite-sized ball is packed with slow-release energy, healthy fats, and plant protein — making them ideal for pre-workout fuel, an afternoon pick-me-up, or a portable snack for work, school, or travel. Naturally gluten-free and dairy-free, they're a meal-prep dream that keeps for two weeks in the fridge.

    Ingredients

    • 1 cup rolled oats (gluten-free)
    • 1/2 cup natural peanut butter (no added garlic/onion)
    • 1/4 cup pure maple syrup
    • 3 tbsp unsweetened shredded coconut
    • 3 tbsp dark chocolate chips (70%+ cocoa)
    • 1 tbsp chia seeds
    • 1 tsp pure vanilla extract
    • Pinch of sea salt

    Mixing the Dough

    In a large mixing bowl, combine the rolled oats, peanut butter, maple syrup, chia seeds, vanilla extract, and a pinch of sea salt. Stir with a sturdy spatula until the mixture comes together into a thick, sticky dough.

    If your peanut butter is very firm, microwave it for 15 seconds first to make it easier to combine.

    Adding the Mix-Ins

    Fold in the shredded coconut and dark chocolate chips until evenly distributed throughout the dough.

    Chilling the Dough

    Cover the bowl and refrigerate for 15 minutes. This brief chill firms up the peanut butter so the balls hold their shape — skip it and you''ll end up with a sticky mess.

    Rolling the Balls

    Using a tablespoon or small cookie scoop, portion the dough into 14 even pieces. Roll each piece between your palms to form a smooth ball, about 1 inch in diameter.

    Place the finished balls on a parchment-lined plate or tray. For an extra coconut crust, roll each ball through a small bowl of additional shredded coconut.

    Storage

    Store in an airtight container in the refrigerator for up to 2 weeks, or freeze for up to 3 months. Let frozen balls thaw for 5 minutes before eating.

    Stick to 2 balls per serve to stay within safe FODMAP limits. Double-check your peanut butter brand with the Low FODMAP Food Checker — some brands sneak in garlic or onion powder. Use the Portion Calculator for oats and chocolate chip portions.

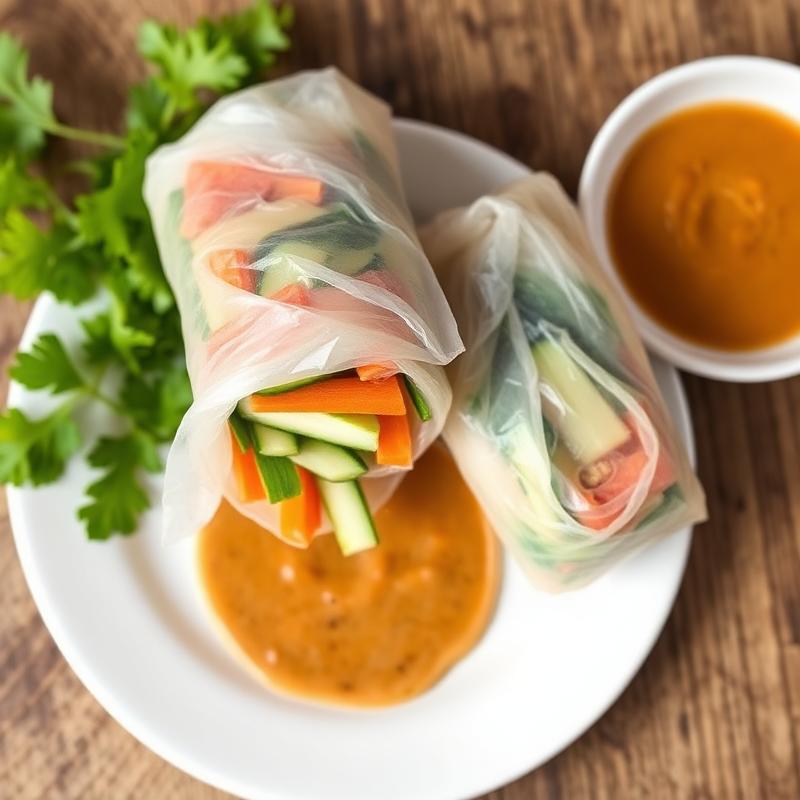
    Love no-fuss snacks? Try our Low FODMAP Peanut Rice Paper Rolls, or explore the full low FODMAP snack collection.
    FODMAP Notes

    FODMAP Safety Breakdown:

    This snack is fully compliant with the elimination phase when you stick to 2 balls per serving:

    • Rolled oats: Low FODMAP up to 1/4 cup (23g) per serve
    • Natural peanut butter: Low FODMAP up to 2 tbsp per serve — check the label for garlic, onion, or high-fructose corn syrup
    • Pure maple syrup: Low FODMAP up to 2 tbsp per serve
    • Shredded coconut: Low FODMAP up to 2 tbsp per serve
    • Dark chocolate chips (70%+): Low FODMAP up to 30g per serve
    • Chia seeds: Low FODMAP up to 2 tbsp per serve
    • Vanilla extract & sea salt: FODMAP-free

    Avoid almond butter (high FODMAP above 1 tbsp), honey, agave nectar, dried fruit, or milk chocolate chips, all of which are high FODMAP.

    Practical Low FODMAP Notes for Low FODMAP Peanut Butter Energy Balls — No-Bake IBS-Friendly Snack

    Low FODMAP Peanut Butter Energy Balls — No-Bake IBS-Friendly Snack is most useful when the serving size stays consistent, because FODMAP tolerance often changes when portions creep upward. Use the listed servings as the starting point, then portion leftovers before storing so the meal stays predictable on busier days. If you are cooking for family members who do not follow a low FODMAP plan, keep onion, garlic, wheat-heavy sides, and high-FODMAP sauces separate at the table instead of mixing them into the main recipe.

    Ingredient notes: this recipe uses 1 cup rolled oats (gluten-free), 1/2 cup natural peanut butter (no added garlic/onion), 1/4 cup pure maple syrup, 3 tbsp unsweetened shredded coconut, 3 tbsp dark chocolate chips (70%+ cocoa), 1 tbsp chia seeds, 1 tsp pure vanilla extract, Pinch of sea salt. Check packaged ingredients carefully, especially broths, spice blends, gluten-free mixes, condiments, and dairy substitutes, because garlic powder, onion powder, inulin, chicory root fiber, high-fructose sweeteners, and wheat-based thickeners can appear in small print. When unsure, choose plain versions and add flavor with garlic-infused oil, fresh herbs, citrus, ginger, chives, scallion greens, or low FODMAP spice blends.

    For IBS-friendly meal prep, cool leftovers quickly and refrigerate in shallow containers. Reheat only the portion you plan to eat, and add fresh herbs, lemon juice, or a small drizzle of garlic-infused oil after reheating to bring the flavor back without relying on high-FODMAP aromatics. If a recipe feels too rich during a flare, pair it with a simple low FODMAP side such as rice, potatoes, quinoa, lettuce, cucumber, carrots, or another tolerated vegetable.

    This recipe is intended for general low FODMAP education, not medical advice. Individual tolerance varies, so use your dietitian’s guidance and your own symptom history when deciding whether to repeat, increase, or modify a serving. During the elimination phase, keep portions conservative; during reintroduction, test one FODMAP group at a time so you can clearly identify personal triggers.

    Helpful next steps: use the FODMAP Food Checker before adding new ingredients, try the Ingredient Swap Tool when a sauce or seasoning is questionable, and save recipes that worked well so you can build a reliable rotation of breakfasts, lunches, dinners, and snacks.

    Storage Tips

    Store in an airtight container in the refrigerator for up to 3-4 days. This recipe freezes well for up to 3 months.

    Recipe FAQs

    Rate this recipe

    Your rating

    Comments (0)

    Please log in to comment.

    No comments yet. Be the first!