
Making the Peanut Dipping Sauce
Start with the dipping sauce so the flavors have time to meld while you prepare the rolls.
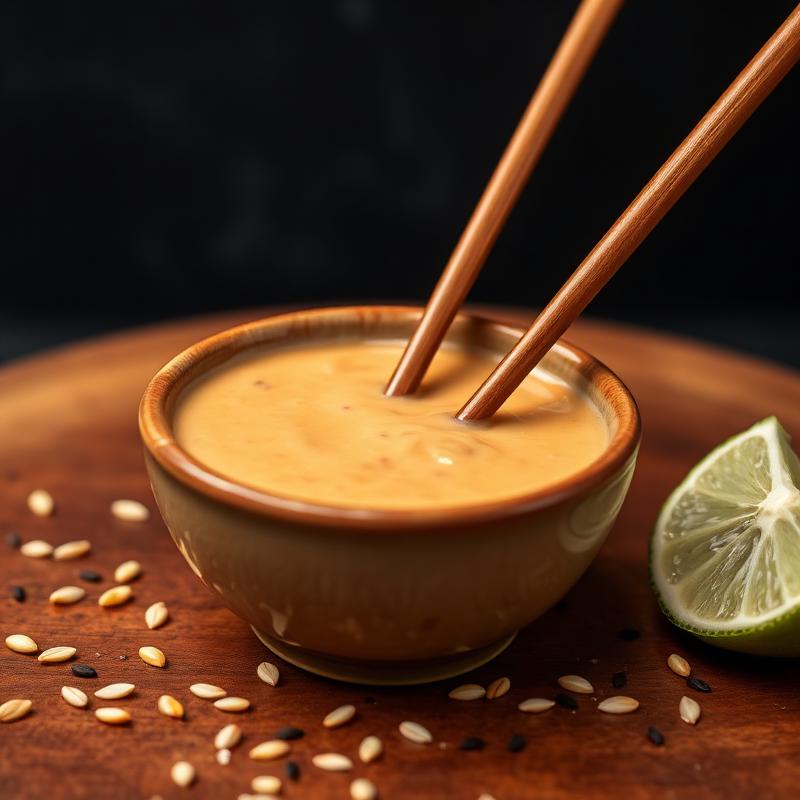
Step 1: In a small bowl, combine 3 tablespoons of natural peanut butter with 2 tablespoons of tamari. Stir vigorously until smooth — the mixture will seem thick at first, but keep stirring. Natural peanut butter works best here because it blends more easily and doesn't contain added sugars that might be high-FODMAP.
Step 2: Add 1 tablespoon of maple syrup, 1 tablespoon of fresh lime juice, 1 teaspoon of freshly grated ginger, and 1 teaspoon of sesame oil. Mix until everything is well incorporated.
Step 3: Gradually add warm water, one tablespoon at a time, stirring after each addition until you reach your desired consistency. The sauce should be pourable but still thick enough to cling to the rolls. If you like a bit of heat, add a pinch of red chili flakes. Set aside.
Chef's Tip: The sauce thickens as it sits, so make it slightly thinner than you think you need. It keeps in the fridge for up to 5 days, making it perfect for meal prep.
Preparing the Vegetables
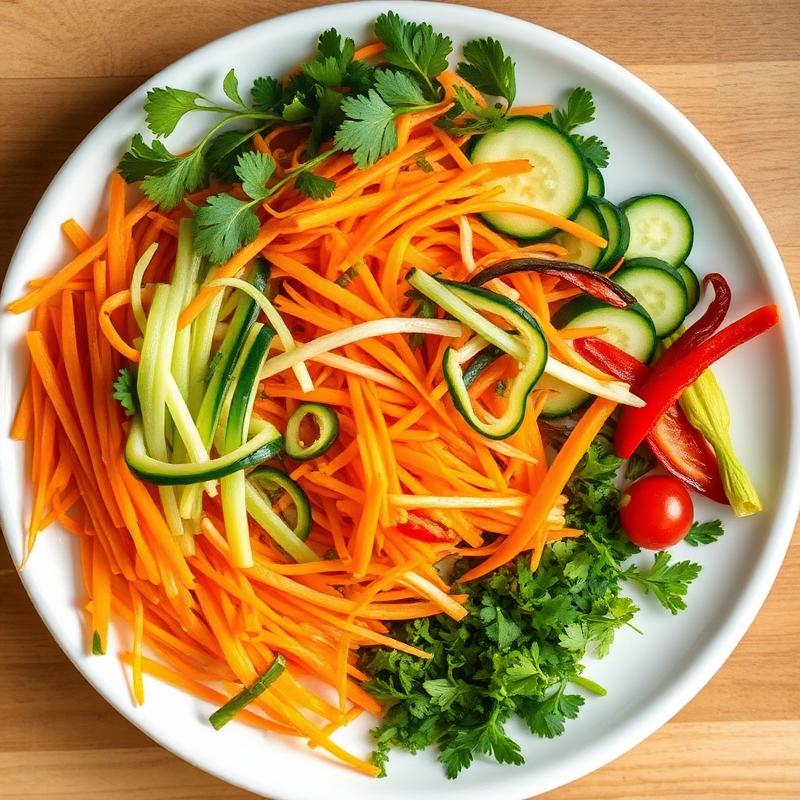
Step 4: Julienne the carrot into thin matchstick-sized strips, about 8cm long. The thinner you cut them, the easier they'll be to roll. A mandoline with a julienne blade makes this step effortless, but a sharp knife works just fine.
Step 5: Seed the cucumber by cutting it in half lengthwise and scooping out the watery center with a spoon. Then julienne into strips similar in size to the carrots. Removing the seeds prevents the rolls from becoming soggy.
Step 6: Slice the red bell pepper into very thin strips. Remove all seeds and white pith. Bell peppers are rated green (low FODMAP) by Monash University at up to 43g per serve.
Step 7: Rinse the bean sprouts in cold water and drain thoroughly. Pat dry with a clean kitchen towel. If using tofu, slice it into thin strips about 1cm wide and 8cm long.
Step 8: Wash and dry the fresh herbs — cilantro and mint. Pick the leaves from the stems, keeping only the most tender stems of the cilantro.
Rolling the Rice Paper Rolls
Step 9: Fill a large, shallow dish (like a pie plate or frying pan) with warm water — not hot, not cold. The water should be comfortable to touch, around 40-45°C.
Step 10: Dip one rice paper wrapper into the warm water for about 10-15 seconds, rotating it gently so it softens evenly. Don't leave it in too long or it will become too sticky and tear. The wrapper should still feel slightly firm when you remove it — it will continue to soften on your work surface.
Step 11: Lay the softened wrapper flat on a clean, damp cutting board or silicone mat. Place a butter lettuce leaf in the lower third of the wrapper. This creates a barrier that prevents the vegetables from poking through.
Step 12: Layer your fillings on top of the lettuce leaf in a neat horizontal line: a few strips of carrot, cucumber, bell pepper, a small handful of bean sprouts, tofu strips (if using), and a few leaves of cilantro and mint.
Pro Tip: Less is more! Overfilling is the #1 mistake when making rice paper rolls. Use about 2-3 tablespoons of filling per roll for the best results.
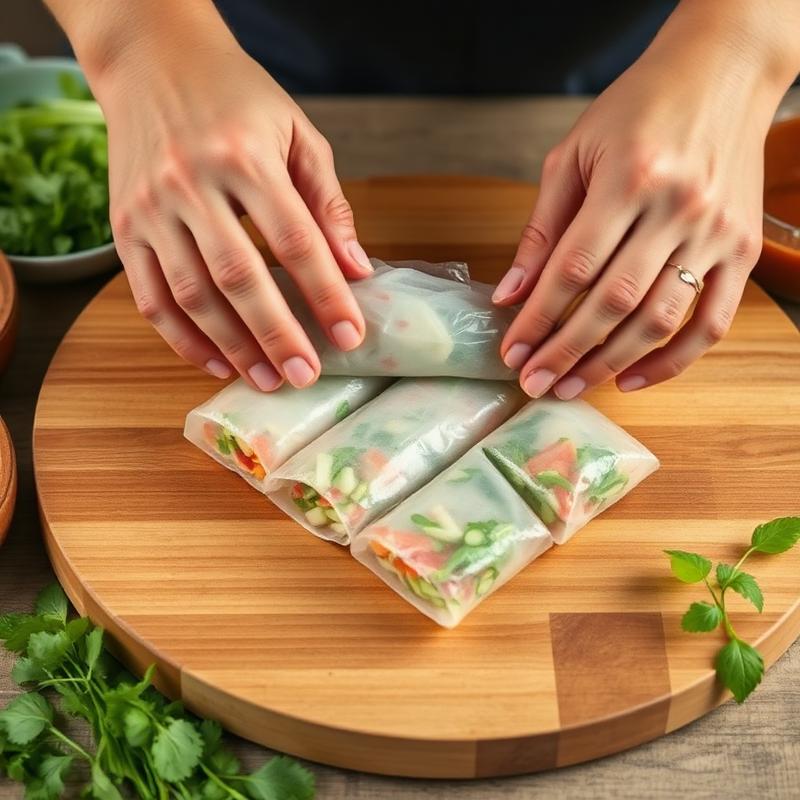
Step 13: Fold the bottom edge of the rice paper up and over the filling. Tuck it snugly under the vegetables, applying gentle but firm pressure. Then fold in both sides toward the center, like wrapping a burrito.
Step 14: Continue rolling upward, keeping the roll tight and even. The rice paper will stick to itself naturally. Place the finished roll seam-side down on a plate lined with a damp paper towel.
Step 15: Repeat with the remaining wrappers and filling. Keep finished rolls covered with a damp paper towel to prevent them from drying out and cracking.
Serving and Storage
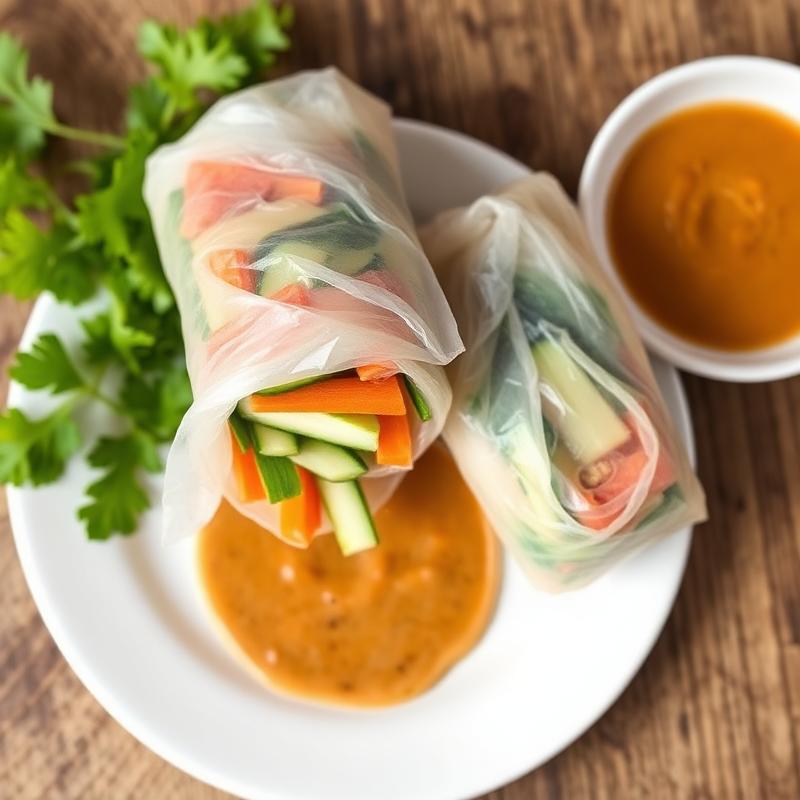
Step 16: Serve the rolls immediately with the peanut dipping sauce on the side. For a beautiful presentation, cut each roll in half on a diagonal to show off the colorful filling inside.
Step 17: If storing for later (perfect for meal prep or work lunches), wrap each roll individually in damp paper towels, then place in an airtight container. Store in the refrigerator for up to 24 hours. Keep the dipping sauce in a separate small container.
Step 18: To serve stored rolls, let them sit at room temperature for 5 minutes before eating. This allows the rice paper to soften slightly and makes them easier to bite into. If the rolls have stuck together, gently separate them with damp hands.
Substitution ideas: Not a fan of peanut butter? Try tahini or sunflower seed butter for a nut-free version. Use our Ingredient Swap Finder for more safe alternatives.