
PHASE 1: PREPARATION & MISE EN PLACE
Step 1: The Vegetable Prep (The Base Texture)
Timing: 15 Minutes
Before you turn on a single burner, we must address the texture. Without the heavy volume of kidney beans found in standard chili, we need vegetables to provide the 'bite' and bulk. Take your carrots and red bell peppers and dice them uniformly small—think of a classic French mirepoix size (approx. 1/4 inch cubes). Uniformity is not just aesthetic; it ensures the vegetables cook at the same rate.
Chef's Insight: Why the carrots? Carrots add a natural sweetness that balances the acidity of the tomatoes later on, and since onions are off the menu, carrots provide that necessary structural background note.
Step 2: The Green Onion Separation
Timing: 5 Minutes
Take a fresh bunch of green onions (scallions). Separate the white bulbs from the green tops. Discard the white bulbs or save them for a family member who can eat them. We will strictly use the dark green leaves. Chop them finely. These contain the onion flavor without the fermentable carbohydrates (fructans) that reside in the bulb.
Step 3: The Legume Wash
Timing: 5 Minutes
Open your can of lentils. Pour them into a fine-mesh sieve and rinse them under cold water for at least 60 seconds. Do not skip this.
The Science: Canned lentils are lower in FODMAPs than dried because the galacto-oligosaccharides (GOS) are water-soluble and leach out into the canning liquid. By draining and rinsing thoroughly, you are physically washing away the indigestible sugars that cause bloating.
PHASE 2: FLAVOR BUILDING
Step 4: Infused Oil & Aromatics
Timing: 2 Minutes
Heat: Medium
Place a large Dutch oven or heavy-bottomed pot over medium heat. Add the 2 tablespoons of garlic-infused olive oil. Wait until the oil shimmers—this is a visual cue that it is ready to accept ingredients. Add the chopped green onion tops (reserve a small handful for garnish if you like) and the diced peppers and carrots.
Step 5: Sweating the Veg
Timing: 8-10 Minutes
Sauté the vegetables in the oil. We are looking to soften them, not brown them deeply yet. Stir occasionally with a wooden spoon. The carrots should lose their raw crunch, and the peppers should become tender. Listen for a gentle sizzle; if it's popping aggressively, turn the heat down. This step builds the savory foundation since we cannot rely on a sautéed onion base.
Step 6: Browning the Meat (The Maillard Reaction)
Timing: 8-10 Minutes
Heat: Medium-High
Push the softened vegetables to the perimeter of the pot, creating a well in the center. Increase the heat slightly to medium-high. Add the ground beef into the center.
Technique Note: Do not stir immediately! Let the meat sit undisturbed for 2-3 minutes. We want the beef to develop a dark brown crust on the bottom. This is the Maillard reaction, developing complex flavors. Once browned on one side, break it up with your spoon and mix it into the vegetables. Cook until no pink remains.
Step 7: The Spice Bloom (Critical Step)
Timing: 2 Minutes
Clear a small spot in the center of the pot again. Add your dry spices here: cumin, smoked paprika, oregano, pure chili powder, cinnamon, cocoa powder, salt, and pepper. Let them toast in the rendered fat for 45-60 seconds before stirring them into the meat mixture.
Why it matters: Spices are fat-soluble. Dumping them into liquid later results in a shallow flavor profile. Toasting them in fat 'wakes' them up, releasing essential oils and deepening the flavor profile instantly. You will smell the difference immediately—the aroma should be nutty, smoky, and intense.
Step 8: The 'Pincage'
Timing: 2 Minutes
Add the tomato paste directly to the meat and spice mixture. Stir constantly for 2 minutes. We want the bright red tomato paste to turn a darker, brick-red color. This 'browning' of the tomato paste caramelizes the sugars and removes the tinny, metallic acidic taste, replacing it with deep umami richness.
PHASE 3: THE SIMMER
Step 9: Deglaze and Liquid
Timing: 5 Minutes
Pour in the beef broth. As the liquid hits the hot pan, it will steam vigorously. Use your wooden spoon to scrape the bottom of the pot. Those stuck-on brown bits are called 'fond,' and they are pure flavor. Incorporate them into the liquid.
Next, add the can of crushed tomatoes, the maple syrup, and the Worcestershire sauce (or Tamari). Stir everything to combine thoroughly.
Step 10: Adding Legumes
Timing: 1 Minute
Fold in your rinsed canned lentils. Because they are canned, they are already cooked; we are simply heating them through and allowing them to absorb the chili flavors.
Step 11: The Long Simmer
Timing: 30-45 Minutes
Heat: Low
Bring the pot to a boil, then immediately reduce the heat to low. Cover the pot, but leave the lid slightly ajar (about an inch) to allow some steam to escape. This allows the chili to reduce and thicken slightly while the flavors marry.
What to look for: The liquid should be gently bubbling, not boiling rapidly. Every 10 minutes, give it a stir to ensure nothing is sticking to the bottom, especially if you are using a non-enameled pot.
Step 12: The Texture Check
Timing: Variable
After 30 minutes, taste a carrot piece. It should be completely tender. Check the consistency of the chili. If it is too watery for your liking, remove the lid completely and increase the heat slightly to medium-low, simmering for another 10 minutes to evaporate excess water. The cocoa powder we added earlier acts not only as a flavor enhancer but also helps create a velvety sheen.
PHASE 4: FINISHING TOUCHES
Step 13: The Final Balance
Timing: 2 Minutes
Turn off the heat. Taste the chili. This is the most important step.
- If it tastes flat: Add a pinch more salt.
- If it tastes too acidic: Add an extra teaspoon of maple syrup.
- If it needs brightness: A squeeze of fresh lime juice (optional) can wake up the heavy flavors.
Step 14: Resting
Timing: 10 Minutes
Let the chili rest off the heat for 10 minutes before serving. This allows the sauce to settle and thicken further. Unlike pasta, which waits for no one, chili benefits from a cool-down period.
Step 15: Plating and Serving
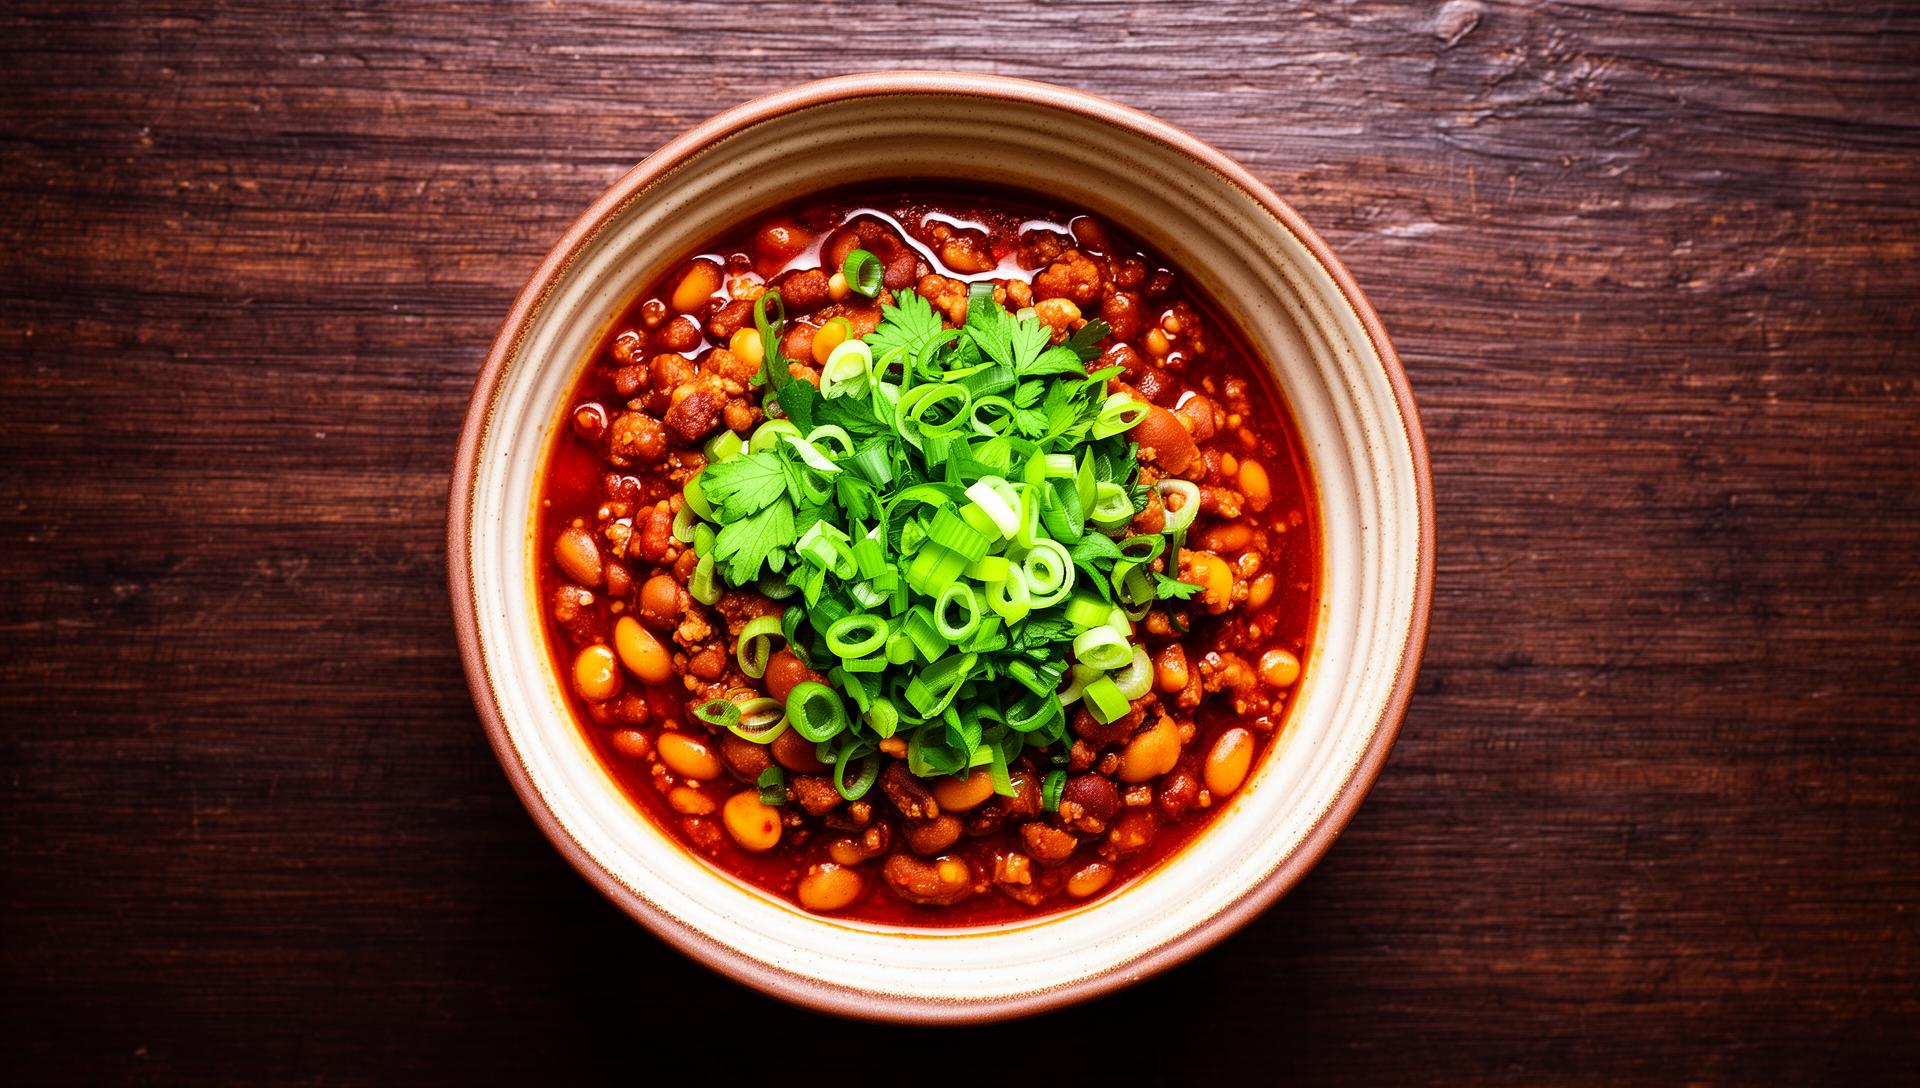
Ladle into deep bowls. Serve with safe toppings such as:
- Lactose-free sour cream or plain lactose-free yogurt
- Fresh chopped cilantro (coriander)
- The reserved green onion tops
- Grated Cheddar cheese (Cheddar is low lactose and generally well tolerated)
- A side of corn chips or rice
Helpful Tools & Resources
Make your low FODMAP cooking easier with these free tools:
- FODMAP Food Checker — Instantly check if a food is low FODMAP
- Recipe Converter — Convert any recipe to low FODMAP
- Ingredient Swap Finder — Find safe substitutes for high FODMAP ingredients
- Browse All Low FODMAP Recipes — Hundreds of gut-friendly recipes
- Dinner Recipe Collection — More hearty dinner ideas