
Preparation: Getting Your Ingredients Ready
Step 1: Gather and Prep Your Vegetables
Start by washing all your vegetables thoroughly under cold running water. Pat them dry with a clean kitchen towel. Dice the zucchini into uniform ½-inch cubes — keeping them consistent ensures even cooking. Cut the red and yellow bell peppers into similar-sized pieces. Halve the cherry tomatoes lengthwise. Having everything prepped before you start cooking (known as mise en place) makes the entire process smooth and stress-free.
Pro Tip: If you're unsure about any ingredient's FODMAP status, use our FODMAP Food Checker to verify it before cooking. This is especially helpful during the elimination phase.
Step 2: Prepare the Herbs and Cheese
Stack the basil leaves on top of each other, roll them tightly into a cigar shape, and slice thinly to create a beautiful chiffonade. Finely chop the fresh oregano. Grate the Parmesan cheese using the fine side of a box grater. Set these aside — fresh herbs added at the right moment make all the difference in flavor.
Cooking the Pasta
Step 3: Boil the Gluten-Free Pasta to Perfection
Fill a large pot with 4-5 quarts of water and bring it to a rolling boil over high heat. Add a generous tablespoon of sea salt — the water should taste like the sea. This is your only chance to season the pasta from the inside.
Add the gluten-free penne and stir immediately for the first 30 seconds to prevent sticking. Gluten-free pasta has a tendency to clump because it lacks the gluten protein network that keeps traditional pasta separated. Stir every 2-3 minutes throughout cooking.
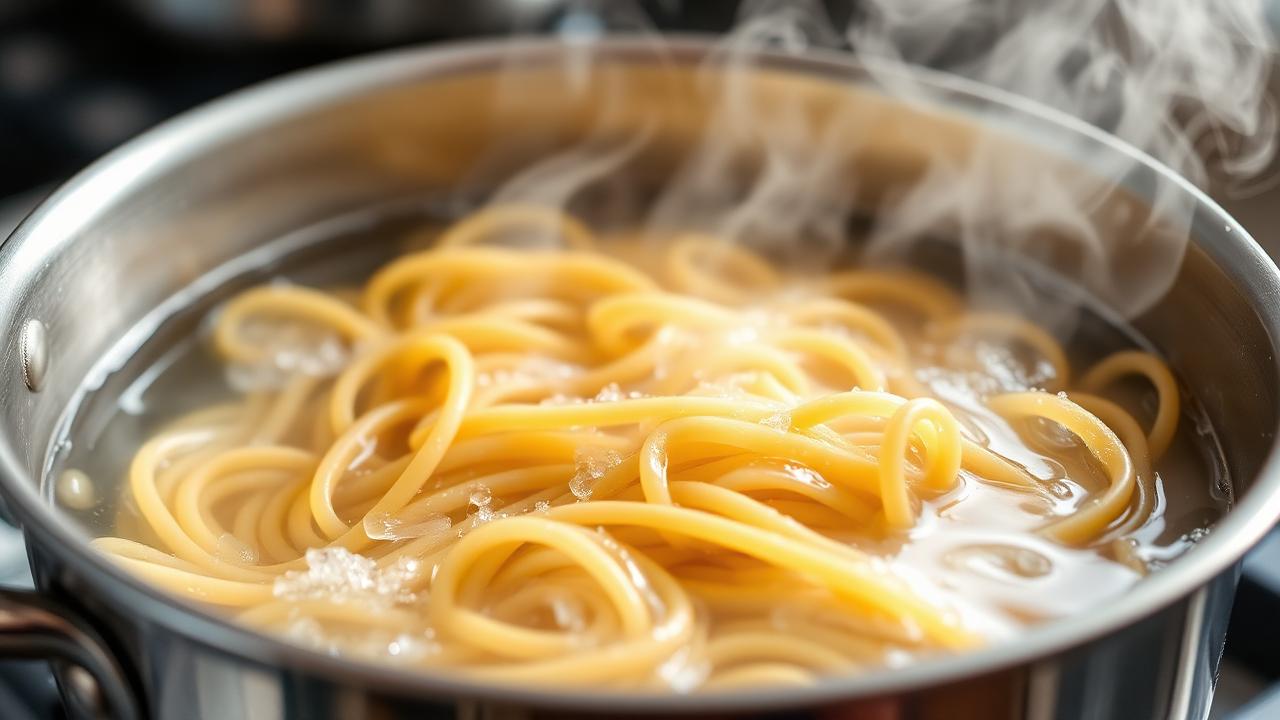
Critical: Cook the pasta 1 minute LESS than the package directions suggest. Gluten-free pasta goes from al dente to mushy very quickly, and it will continue cooking when tossed with the hot sauce. Test a piece by biting into it — there should be a slight firmness in the center.
Step 4: Reserve Pasta Water Before Draining
Before draining, use a measuring cup to scoop out about ½ cup of the starchy pasta water. This liquid gold contains starch that will help emulsify your sauce into a silky, creamy consistency. Drain the pasta and toss with a drizzle of garlic-infused olive oil to prevent sticking. If you need to convert any recipe to low FODMAP, this pasta water trick works universally.
Building the Sauce
Step 5: Infuse the Oil with Flavor
Heat the garlic-infused olive oil in a large, deep skillet or sauté pan over medium heat. Let it warm for about 1 minute — you want the oil hot enough to sizzle when the vegetables hit the pan, but not smoking. Garlic-infused oil is the secret weapon for low FODMAP cooking because the FODMAPs in garlic (fructans) are not oil-soluble, meaning all the flavor transfers to the oil while the problematic compounds stay behind.
Step 6: Sauté the Bell Peppers First
Add the diced red and yellow bell peppers to the hot oil. Spread them in a single layer and let them cook undisturbed for 2 minutes. This allows caramelization to develop on the bottom surface, creating deeper flavor. Then stir and cook for another 2-3 minutes until they're tender-crisp with beautiful char marks. Bell peppers are rated green (low FODMAP) by Monash University at standard serving sizes.
Step 7: Add Zucchini and Cherry Tomatoes
Push the peppers to the edges of the pan and add the diced zucchini to the center. Let it sear for 2 minutes without stirring — this creates a golden crust that adds incredible texture. Add the halved cherry tomatoes and cook for another 2-3 minutes until they just start to soften and release their juices.
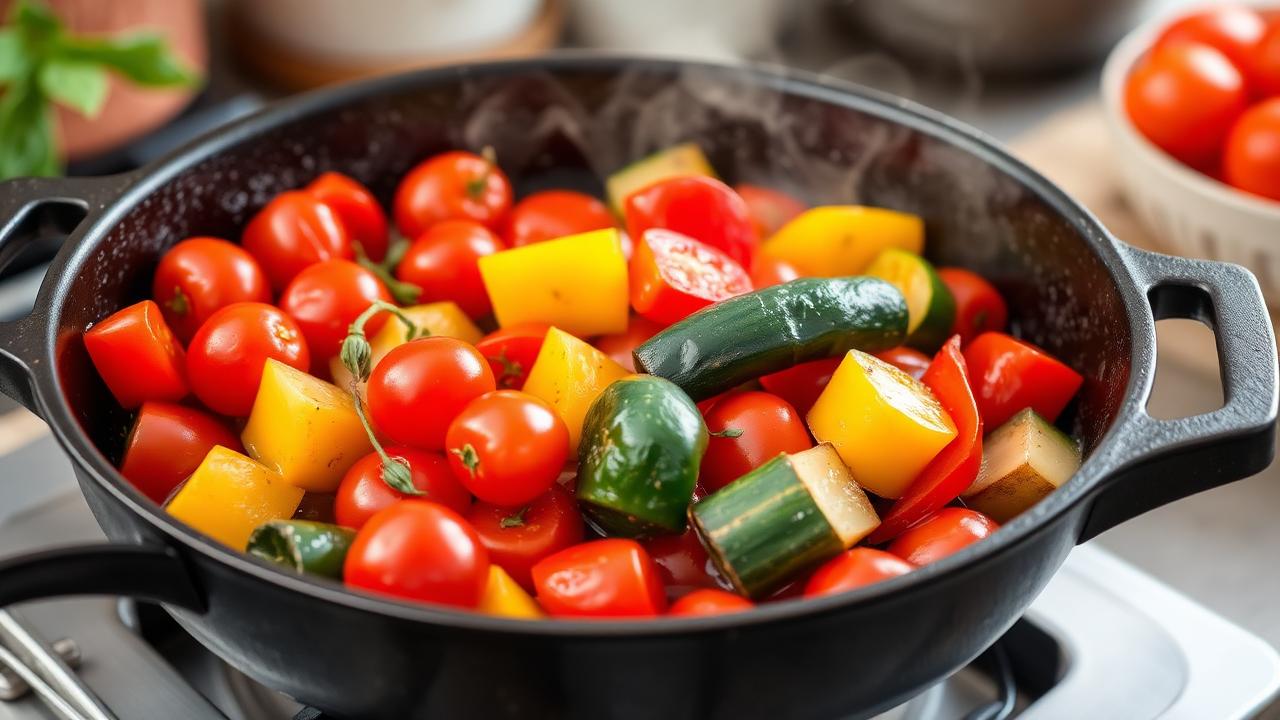
Flavor Note: The tomato juices will deglaze the pan, lifting all those caramelized bits (fond) from the bottom. This is pure concentrated flavor — don't skip this step! If you want to explore more low FODMAP recipes with this technique, we have a whole collection.
Step 8: Season the Vegetables
Sprinkle the sea salt, black pepper, smoked paprika, and red pepper flakes (if using) over the vegetables. Toss everything together and cook for 30 seconds to bloom the spices in the hot oil. Blooming spices releases their essential oils and amplifies their flavor significantly.
Creating the Creamy Sauce
Step 9: Add the Cream
Reduce the heat to medium-low. Pour in the lactose-free cream and stir gently to combine with the vegetables. Let it simmer for 2-3 minutes, allowing the cream to thicken slightly and absorb the vegetable flavors. If using coconut cream for a dairy-free version, add it at this stage — it creates an equally luxurious texture.
Step 10: Incorporate Parmesan and Lemon
Remove the pan from heat briefly, then stir in the grated Parmesan cheese until it melts into the sauce. Add the lemon juice — this brightens all the flavors and cuts through the richness of the cream. The acidity also helps the cheese integrate smoothly without clumping.
Bringing It All Together
Step 11: Toss the Pasta with the Sauce
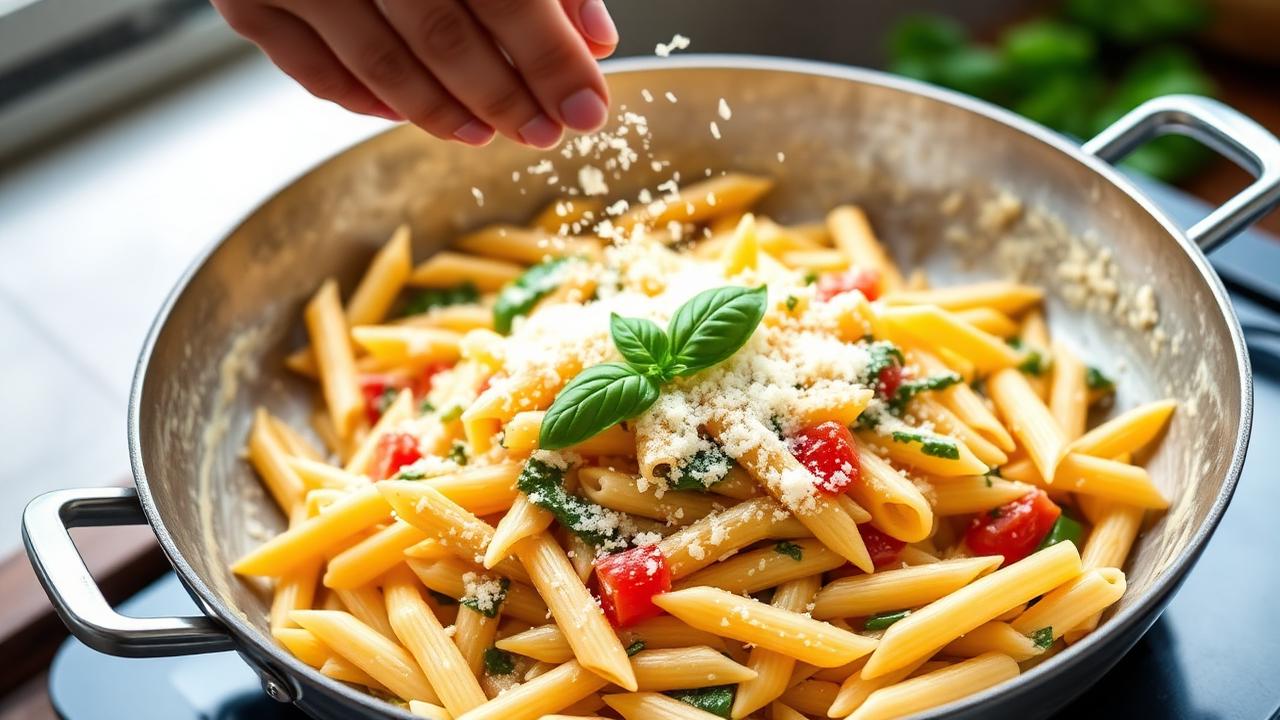
Add the drained pasta directly to the sauce pan. Using tongs, toss everything together vigorously for about 1 minute, ensuring every piece of penne is coated in the creamy sauce. If the sauce seems too thick, add the reserved pasta water one tablespoon at a time until you reach your desired consistency.
Step 12: Wilt the Spinach
Add the fresh baby spinach on top of the hot pasta and gently fold it in. The residual heat will wilt the spinach in about 30-45 seconds. Spinach adds vibrant color, iron, and folate — and it's perfectly safe on a low FODMAP diet at portions up to 1½ cups per serving.
Step 13: Finish with Fresh Herbs
Scatter the basil chiffonade and chopped oregano over the pasta. Give it one final gentle toss. Fresh herbs added at the end retain their volatile oils and bright flavor, which would be lost if added during cooking.
Plating and Serving
Step 14: Plate Like a Chef
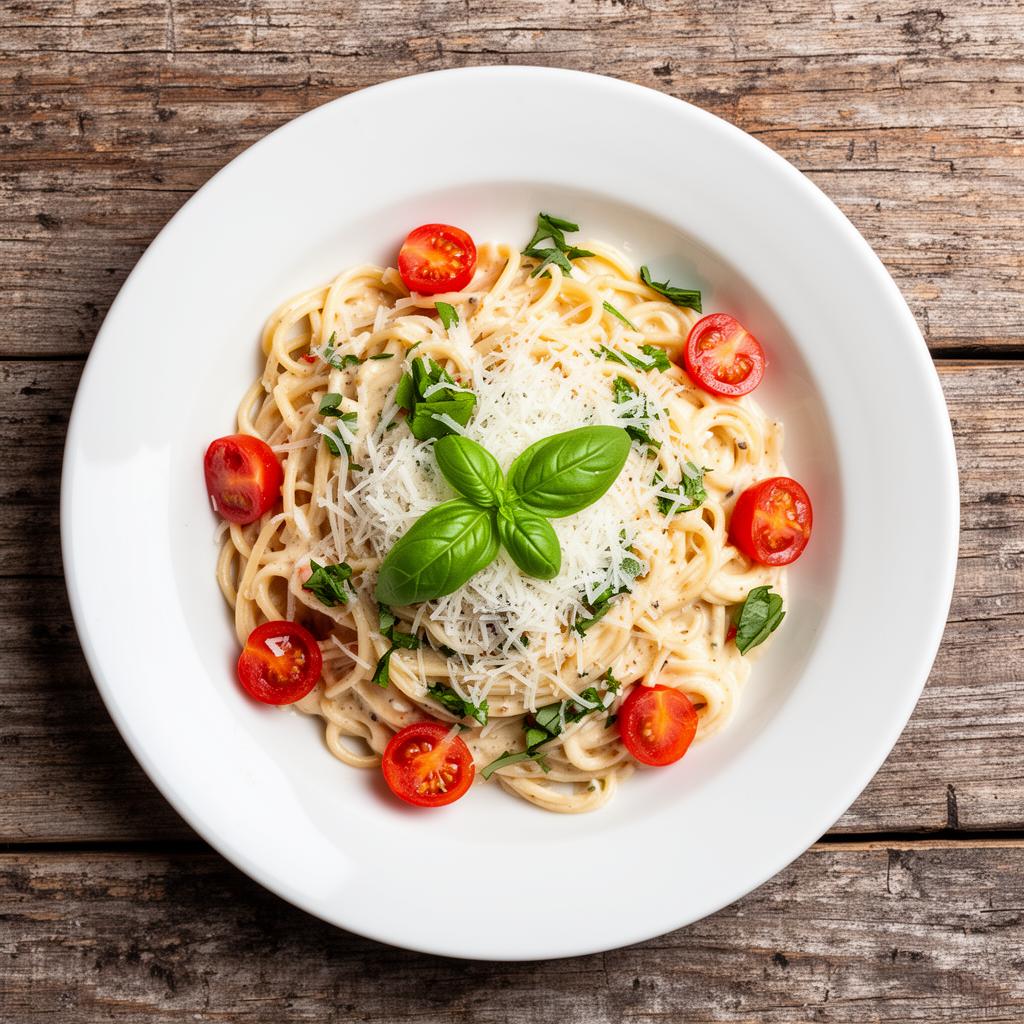
Use tongs to twirl a generous portion of pasta into each warm bowl. Arrange the vegetables on top so the colors are visible. Drizzle a tiny bit of garlic-infused oil over each serving for shine. Top with extra Parmesan shavings and a sprig of fresh basil.
Step 15: Serve Immediately
Low FODMAP pasta is best served immediately while the sauce is creamy and the pasta is perfectly al dente. Gluten-free pasta doesn't hold as well as wheat pasta, so encourage everyone to dig in right away. For finding safe substitutes for any ingredients, try our Ingredient Swap Finder.
Storage and Meal Prep Tips
Step 16: Storing Leftovers
Store leftovers in an airtight container in the refrigerator for up to 3 days. When reheating, add a splash of lactose-free milk or water and heat gently over medium-low — this revives the creamy texture. Avoid microwaving at high power, which can make gluten-free pasta rubbery.
Step 17: Meal Prep Adaptation
For meal prep, cook the pasta and sauce separately. Store them in individual containers and combine when ready to eat. This prevents the pasta from absorbing all the sauce and becoming dry. Plan your weekly meals efficiently with our Grocery List Builder to ensure you have everything you need.
Step 18: Freezing Instructions
This pasta freezes well for up to 2 months. Slightly undercook the pasta before freezing so it doesn't become mushy when reheated. Thaw overnight in the refrigerator and reheat on the stovetop with a splash of cream. Use the Portion Calculator to scale this recipe up for batch cooking.