
Getting Started — Preparing Your Ingredients
Step 1: Preheat and Prep Your Workspace
Preheat your oven to 200°C (400°F). Line a large baking sheet with parchment paper for the vegetables — this makes cleanup effortless and prevents sticking. Place a wire rack on a second baking sheet for the chicken if you have one; this allows air to circulate around the chicken for even cooking.
Take your chicken breasts out of the refrigerator about 15 minutes before cooking. Bringing them to room temperature ensures they cook evenly — cold chicken straight from the fridge will cook unevenly, leaving you with dry edges and an undercooked center.
Step 2: Prepare the Herb Crust Marinade
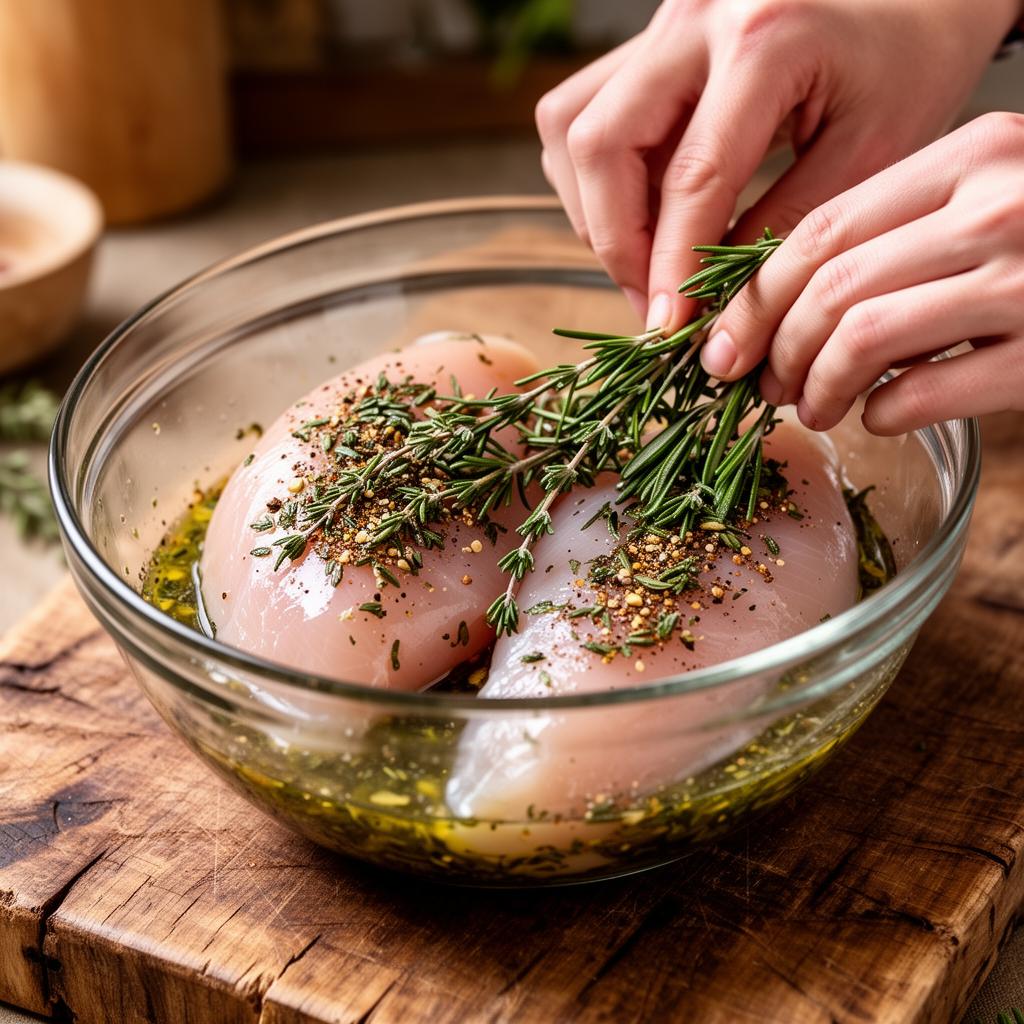
In a medium bowl, combine the garlic-infused olive oil, chopped fresh rosemary, thyme leaves, dried oregano, smoked paprika, ground cumin, lemon zest, half the lemon juice, sea salt, and black pepper. Whisk everything together until well combined.
Pro Tip: Garlic-infused oil is a FODMAP-safe way to get that beloved garlic flavor. The FODMAPs in garlic (fructans) are water-soluble but not oil-soluble, so infusing oil with garlic and then removing the garlic cloves gives you the flavor without the digestive distress. You can verify this using our FODMAP Food Checker tool.
Step 3: Marinate the Chicken
Pat the chicken breasts completely dry with paper towels — this is crucial for achieving a golden, crispy crust. Moisture on the surface of the chicken will create steam instead of a sear, resulting in a pale, soggy exterior.
Place the chicken breasts in a shallow dish or zip-lock bag. Pour the herb marinade over the chicken, turning each breast to coat evenly on all sides. If you have time, let it marinate for 15–30 minutes. Even a quick 5-minute rest will allow the flavors to penetrate.
Preparing the Roasted Vegetables
Step 4: Cut and Season the Vegetables
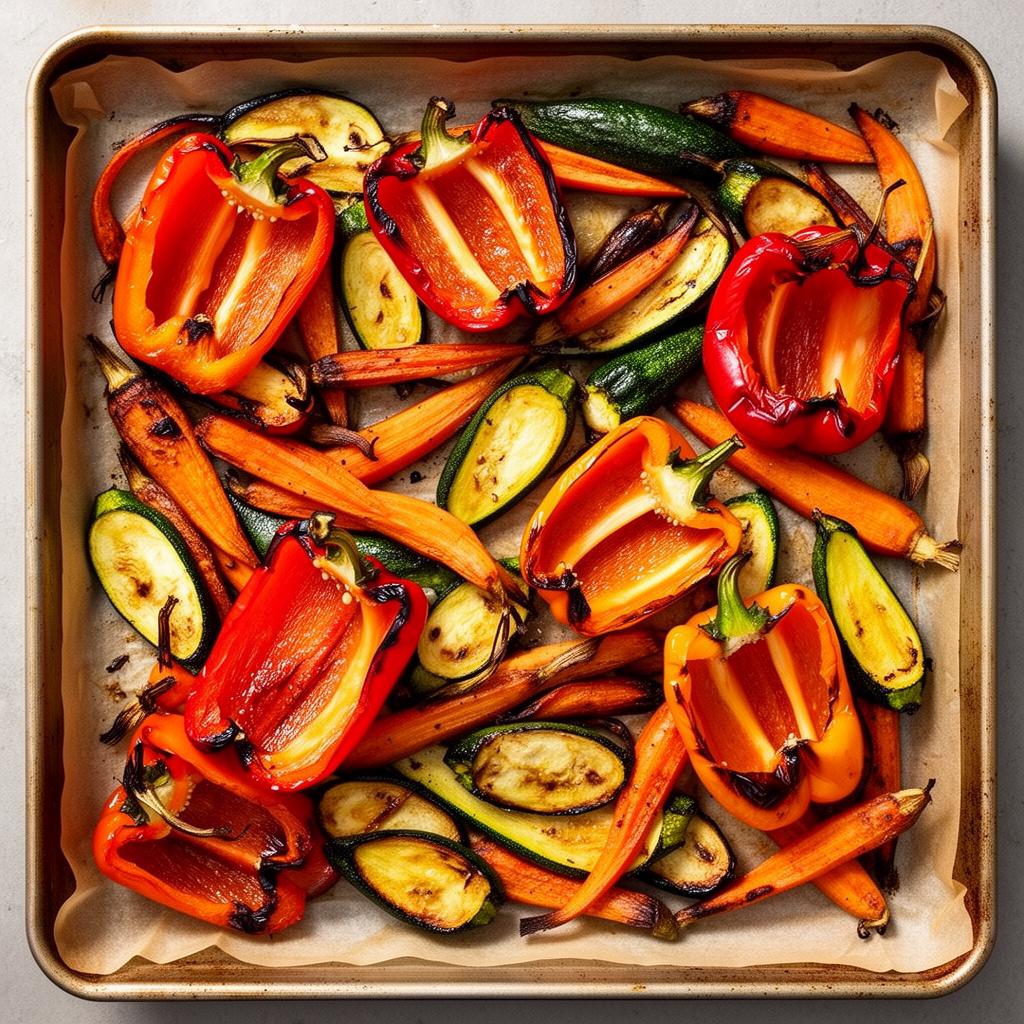
While the chicken marinates, prepare your vegetables. Cut the zucchini into half-moon slices about 1cm thick — too thin and they will turn mushy, too thick and they will not caramelize properly. Cut the bell peppers into roughly 2.5cm chunks. Slice the carrots diagonally into pieces about 5mm thick; the diagonal cut increases the surface area for better caramelization.
Spread the vegetables on your prepared baking sheet in a single layer — overcrowding is the enemy of roasting. If your vegetables are piled on top of each other, they will steam instead of roast, and you will miss out on those delicious caramelized edges.
Drizzle with the extra virgin olive oil, sprinkle with the dried Italian herbs, and season with a pinch of salt and pepper. Toss everything with your hands until evenly coated.
Step 5: Roast the Vegetables
Place the vegetables in the preheated oven and roast for 25–30 minutes, tossing halfway through. You are looking for tender vegetables with golden-brown, slightly charred edges. The natural sugars in the bell peppers and carrots will caramelize beautifully, adding a depth of sweetness that complements the savory chicken perfectly.
Cooking the Chicken to Perfection
Step 6: Sear the Chicken
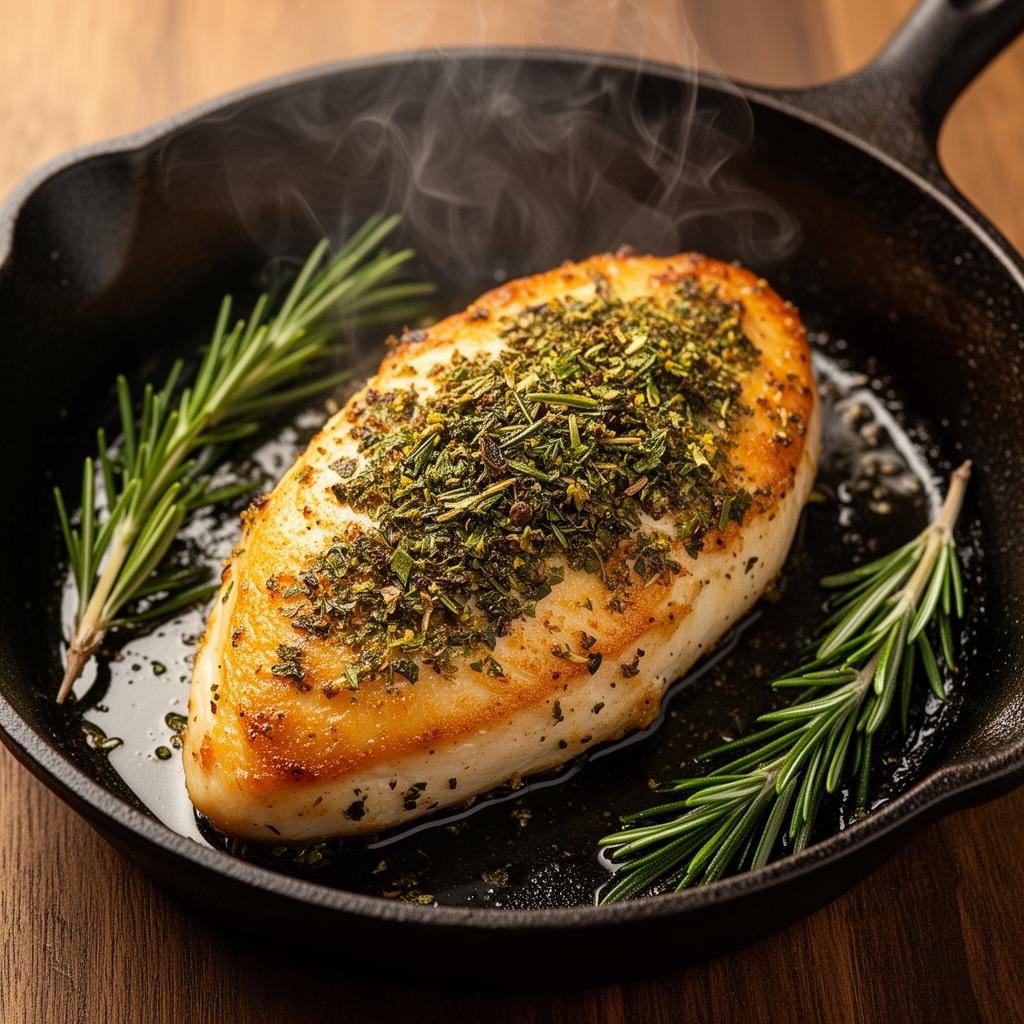
Heat a large oven-safe skillet (cast iron is ideal) over medium-high heat. Add a small drizzle of garlic-infused olive oil. Once the oil shimmers and just begins to smoke, carefully place the chicken breasts in the pan, presentation-side down.
Sear for 3–4 minutes without moving the chicken. Resist the urge to poke, prod, or flip too early! You will know it is ready to flip when it releases easily from the pan and has a deep golden-brown crust. Flip and sear the other side for 2–3 minutes.
Step 7: Finish in the Oven
Transfer the skillet (or move chicken to an oven-safe dish) to the oven alongside the vegetables. Bake for 12–18 minutes, depending on the thickness of your chicken breasts. The internal temperature should reach 74°C (165°F) when measured with an instant-read thermometer inserted into the thickest part.
Chef's Tip: If you do not have a meat thermometer, press the center of the chicken with your finger. It should feel firm but with a slight spring — like pressing the base of your thumb when touching your ring finger to your thumb.
Step 8: Rest the Chicken
This is the most important step that many home cooks skip! Remove the chicken from the oven and let it rest on a cutting board for 5–8 minutes, loosely tented with aluminum foil. During resting, the internal temperature continues to rise by a few degrees (carryover cooking), and the juices redistribute throughout the meat. Cutting into chicken immediately causes those precious juices to flood out onto the cutting board instead of staying in the meat, resulting in dry chicken.
Assembly and Serving
Step 9: Slice and Plate
After resting, slice the chicken breasts on a diagonal against the grain — this creates tender, elegant slices that look restaurant-worthy. 'Against the grain' means cutting perpendicular to the direction of the muscle fibers, which shortens them and makes each bite more tender.
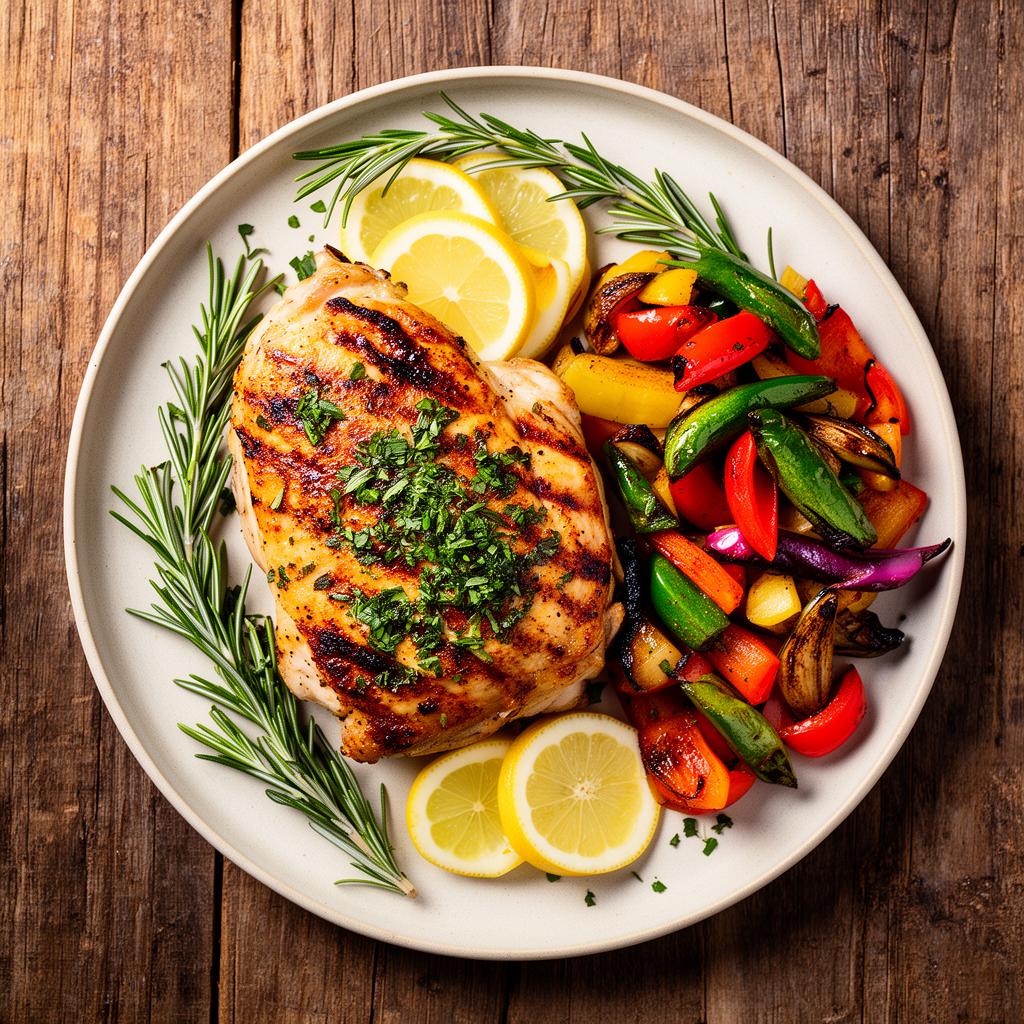
Arrange the roasted vegetables on a warm serving platter or individual plates. Fan the sliced chicken over the vegetables.
Step 10: Final Finishing Touches
Drizzle the remaining lemon juice over the plated chicken and vegetables. Scatter the chopped fresh parsley over everything for a pop of color and freshness. If using, crumble the lactose-free feta over the top — it adds a tangy, creamy element that pairs beautifully with the herbs.
Step 11: Serve and Enjoy
Serve immediately while everything is hot. This dish pairs wonderfully with steamed jasmine rice, quinoa, or certified gluten-free pasta. For a lighter option, serve over a bed of baby spinach for a warm salad.
Meal Prep and Storage Tips
Step 12: Storing Leftovers
Allow leftovers to cool completely before transferring to airtight containers. Store in the refrigerator for up to 4 days. The chicken and vegetables store well together or separately.
Step 13: Reheating
For the best results, reheat in a 180°C (350°F) oven for 10–12 minutes. Microwave reheating works in a pinch — cover with a damp paper towel to prevent drying out. Add a splash of water or broth to the container before microwaving.
Step 14: Freezing Instructions
This recipe freezes beautifully for up to 3 months. Portion into individual meal prep containers, allow to cool completely, then freeze. Thaw overnight in the refrigerator before reheating. The vegetables may soften slightly upon thawing but will still taste delicious.
Looking for more low FODMAP dinner ideas? Check out our dinner recipe collection or use our Recipe Converter to adapt your favorite chicken recipes to be FODMAP-friendly. If you need to swap any ingredients, our Ingredient Swap Finder can suggest safe alternatives instantly.
Helpful Tools & Resources
Make your low FODMAP cooking easier with these free tools:
- FODMAP Food Checker — Instantly check if a food is low FODMAP
- Recipe Converter — Convert any recipe to low FODMAP
- Ingredient Swap Finder — Find safe substitutes for high FODMAP ingredients
- Browse All Low FODMAP Recipes — Hundreds of gut-friendly recipes
- Symptom Tracker — Track your meals and symptoms to identify triggers
Evidence-Based: This recipe follows guidelines from the Monash University FODMAP Program, the leading authority on FODMAP research. Always consult a registered dietitian for personalized advice.